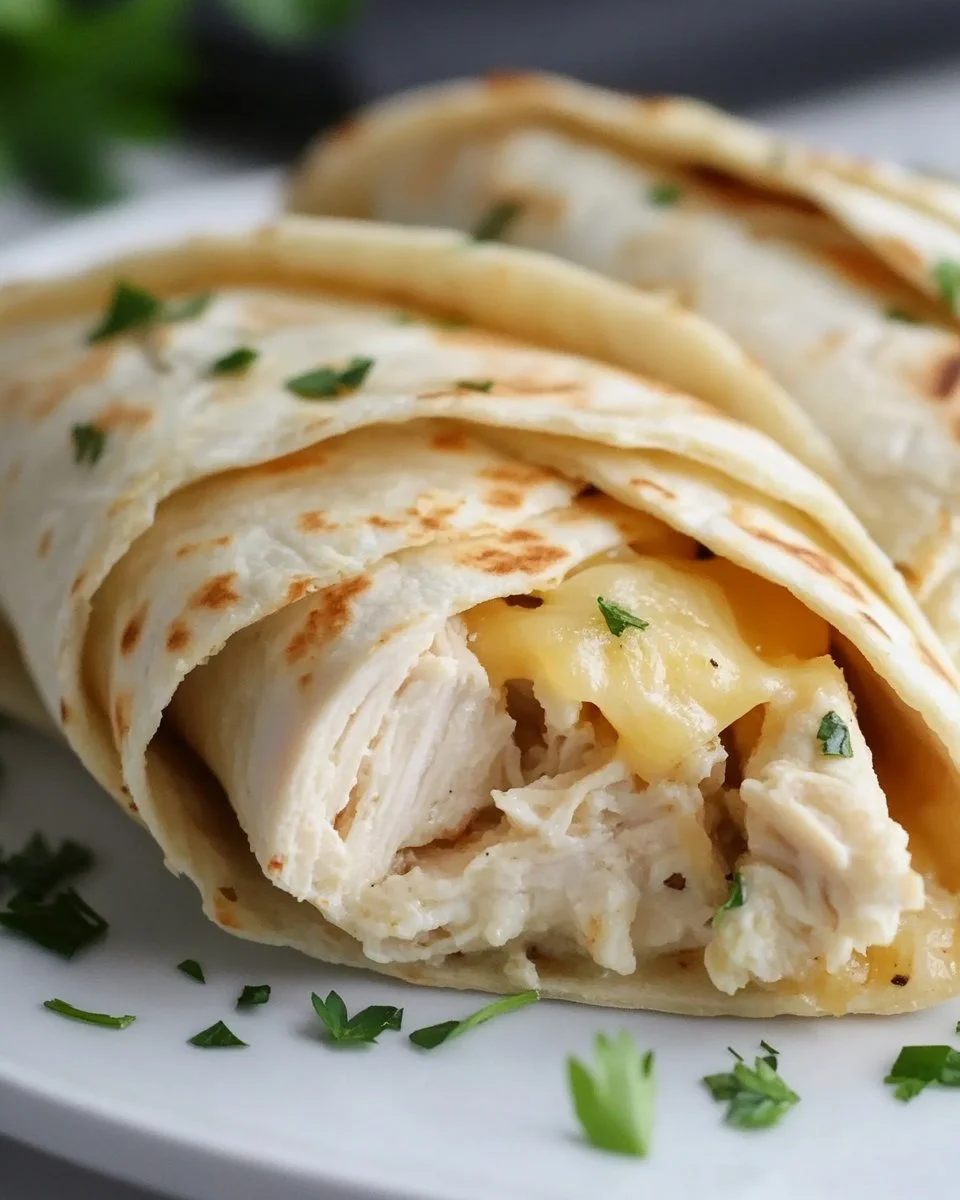
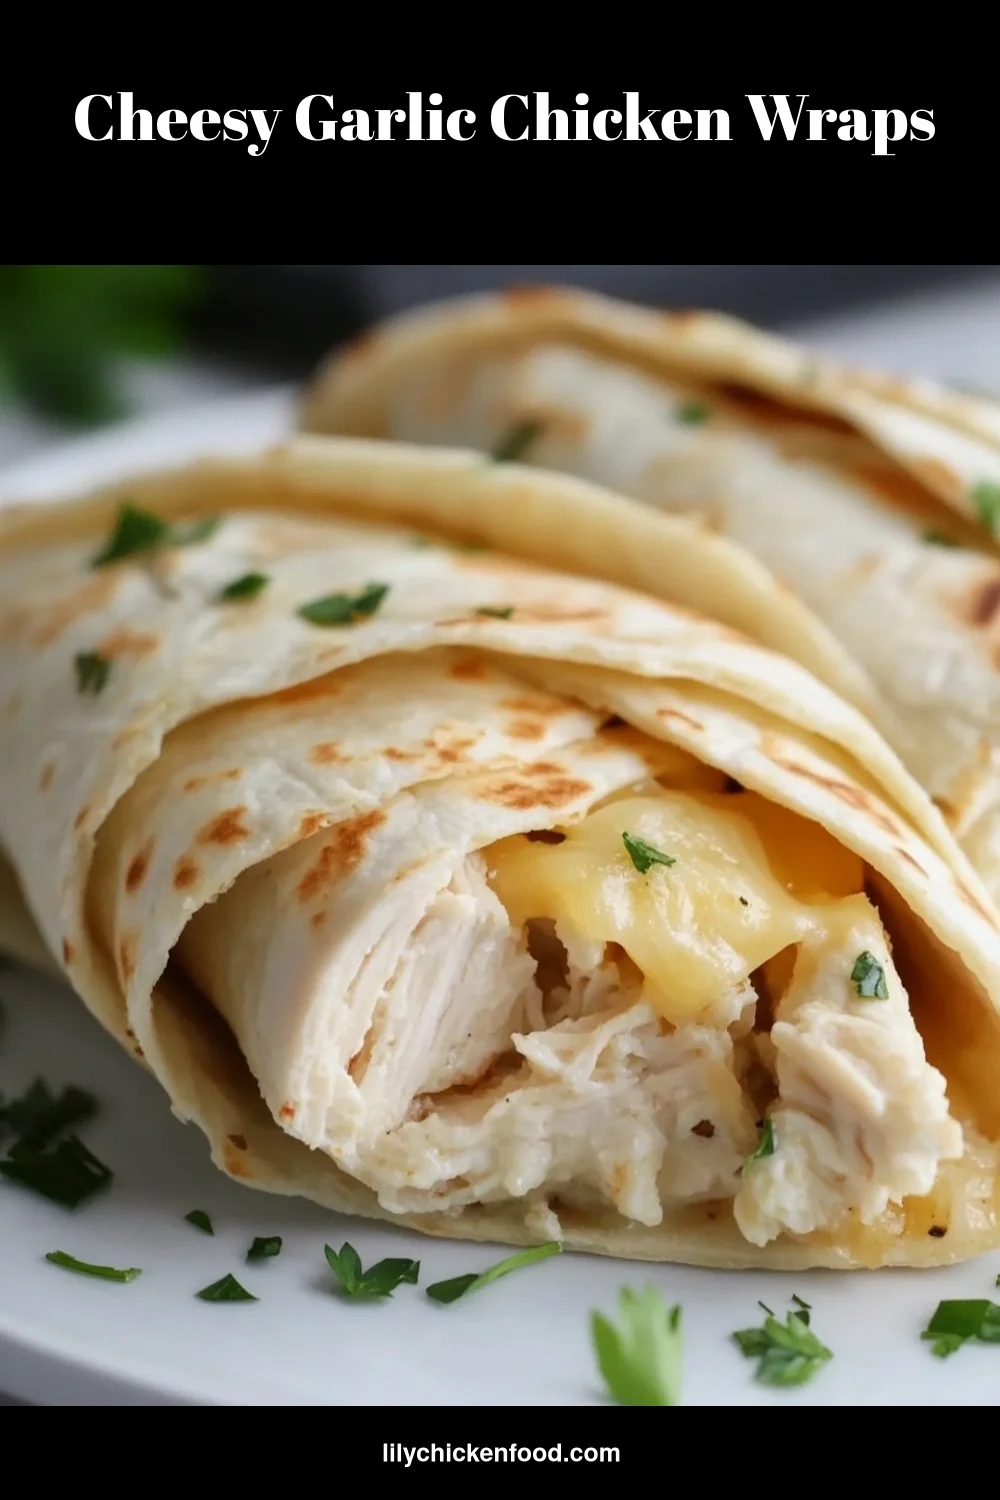
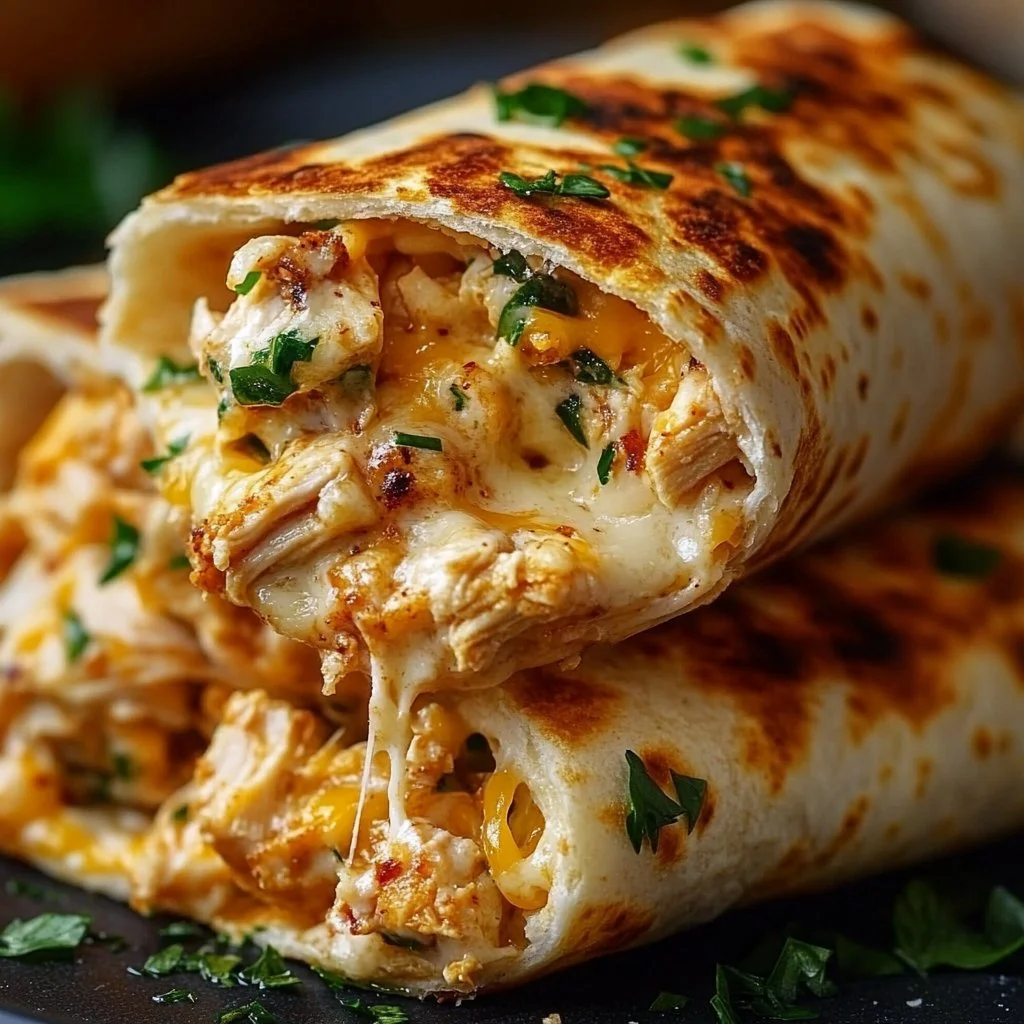
Cheesy Garlic Chicken Wraps
I can smell garlic and butter as I walk into my kitchen. The sound of a skillet warming up makes the house feel cozy and familiar. Tonight feels like one of those easy family dinners that everyone will request again.
I first made these Cheesy Garlic Chicken Wraps years ago when my kids were small and I needed something quick and flavorful. If you love simple recipes that feel a little special, this one will be a go-to. For another hands-on wrap idea, I often pair the evening with a side from my crunchy collection, like my Crunchy Crispy Air Fryer Chicken Mozzarella Wraps.
Why this works
This wrap keeps family life in mind. It uses cooked chicken and simple pantry spices so you can assemble fast on busy nights. The cheese melts into pockets of goodness that kids and adults both love.
I tested this recipe over many weeknights. It holds up well for busy schedules and travel days when you need dinner ready fast. If you like sliders and small sandwiches, try pairing this idea with something fun from my recipe box, such as the Bang Bang Chicken Sliders Recipe for a party night.
This recipe saves time and reduces stress. You can prep the filling earlier, then crisp the wraps right before dinner. That small step makes the meal feel freshly cooked and satisfying.
Process Overview
“This is where the magic happens—when the aroma fills the kitchen.”
I like to think of this recipe as three quick stages: mix, assemble, and crisp. You mix the seasoned chicken filling, build the wrap with cheese, and sear it in a skillet until golden. The aroma is the reward that tells you dinner is almost ready.
If you want to speed things up further, use leftover rotisserie chicken or shredded deli chicken. It saves time and keeps flavor bright.
Ingredients
-
2 cups cooked chicken, shredded
Lily’s tip: Use rotisserie or leftover roasted chicken to save time. Shred it by hand for a rustic texture that catches the garlic and cheese. -
1 cup shredded cheese (cheddar or mozzarella)
Lily’s tip: Sharp cheddar gives bold flavor. Mozzarella melts beautifully. Mix both if you like gooey stretch with a tang. -
2 tablespoons garlic, minced
Lily’s tip: Fresh garlic gives the brightest flavor. If you must, use jarred minced garlic but add it a minute earlier in the skillet so it wakes up. -
1 teaspoon garlic powder
Lily’s tip: A small amount boosts the garlic flavor without overpowering the fresh garlic. -
1 teaspoon onion powder
Lily’s tip: Onion powder rounds out the filling. If you have a small sweet onion, you can swap one teaspoon of onion powder for a tablespoon of finely diced onion. -
Salt and pepper to taste
Lily’s tip: Start light and taste. If your chicken came seasoned, you may need less salt. -
4 large tortillas or wrap bread
Lily’s tip: Flour tortillas with a bit of chew work best. Warm them briefly to make rolling easier. -
2 tablespoons olive oil or butter for frying
Lily’s tip: Butter gives a richer crust; olive oil is lighter. Use a mix if you like both flavors. -
Fresh parsley, chopped (for garnish)
Lily’s tip: Parsley brightens the plate and adds a fresh finish. Sprinkle it just before serving.
For more ideas on air fryer meals that pair well with wraps, check out my collection of air fryer chicken recipes.
Directions
-
In a bowl, mix together the shredded chicken, garlic, garlic powder, onion powder, salt, and pepper.
Encouragement: Take a moment to really combine the spices with the chicken so every bite has flavor. If the mixture seems dry, add a teaspoon of olive oil. -
Place a tortilla on a flat surface and add a portion of the chicken mixture to the center, then top with shredded cheese.
Encouragement: Don’t worry about perfection. Add enough cheese to get a good melt but leave space to fold the sides. -
Roll the tortilla tightly, folding in the sides as you go.
Encouragement: Practice one or two wraps first. Once you get the tuck, the rest go quickly and look lovely. -
Heat olive oil or butter in a skillet over medium heat.
Encouragement: Heat the pan until the oil shimmers. A hot skillet gives a crisp, golden exterior without drying the filling. -
Place the wraps seam-side down in the skillet and cook until golden brown, about 3-4 minutes on each side.
Encouragement: Press gently with a spatula for even browning. Flip once and watch that gorgeous color develop. -
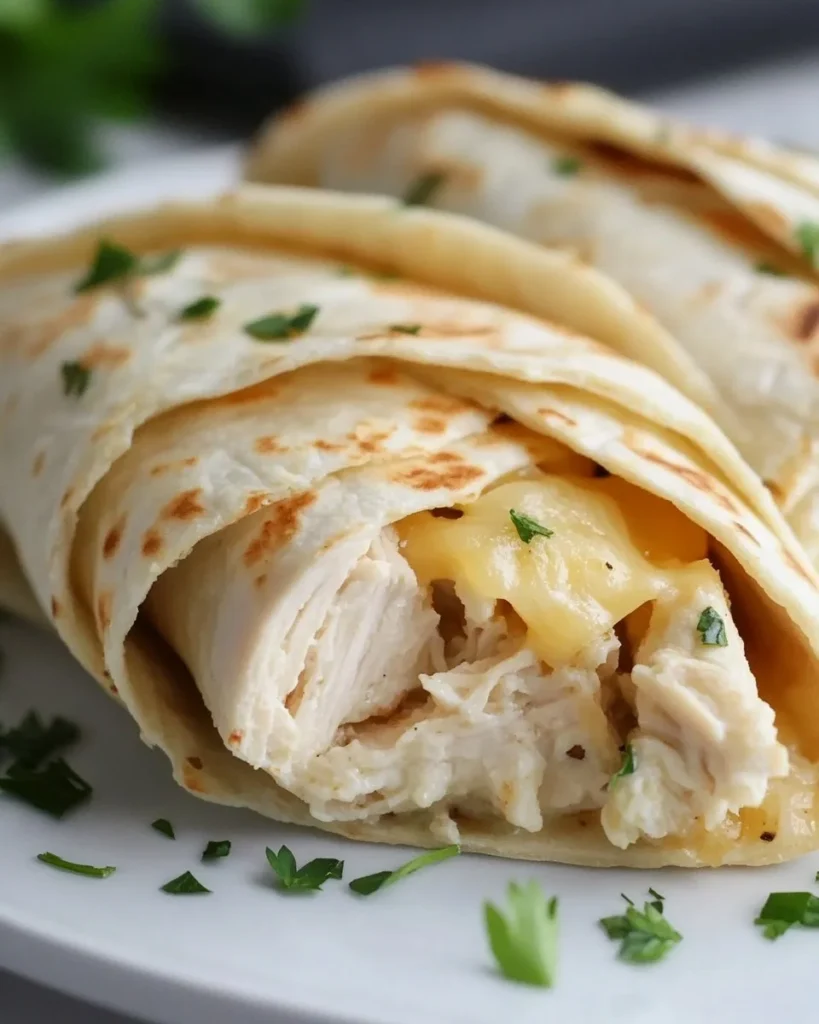
Remove from skillet, slice in half, and garnish with chopped parsley. Serve warm.
Encouragement: Slice with a sharp knife and plate for quick family service. These are best hot and melty.
If you need a quick list of other family-friendly chicken ideas, see my quick and easy chicken ideas for more inspiration.
Serving

Serve these wraps family-style on a large platter. Cut each wrap in half and arrange them so everyone can grab a warm piece. Add small bowls of dipping sauce on the side.
My family likes ranch, plain Greek yogurt with a squeeze of lemon, or a mild hot sauce. For a simple side, serve a crisp green salad, carrot sticks, or oven fries. The warm cheese and garlic are the stars, so keep sides fresh and textural.
For a picnic or packed lunch, wrap each half in parchment and secure with a sticker. They travel well for short trips and still taste great at room temperature.
Storage
Fridge: Store finished wraps in an airtight container for up to 3 days. Keep them whole if you plan to reheat, which preserves moisture.
Reheat on stovetop: Heat a nonstick skillet over medium-low and crisp each wrap for 2-3 minutes per side. This restores the crunchy exterior and melty center.
Reheat in oven: Preheat to 350°F. Place wraps on a baking sheet and warm 8 to 10 minutes until heated through. Cover loosely with foil if you worry about too much browning.
Microwave: Use for speed. Microwave one wrap for 45 to 60 seconds. Then sear in a hot skillet for 30 seconds per side for a crisp finish.
Freezing: Wrap each cooked wrap tightly in plastic wrap and place in a freezer bag. Freeze up to 1 month. Thaw overnight in the fridge before reheating.
Kitchen Notes
- Use rotisserie chicken to cut prep time in half. It keeps flavor and texture lively.
- Warm tortillas on a dry skillet or in the microwave for 10 seconds. Warm wraps roll without cracking.
- Grate your cheese fresh from a block for better melting and less starch.
- Use a large skillet so you can cook two wraps at once and save time.
- Double the filling and keep extra in the fridge for 2-3 days to make more wraps quickly.
I also like to tweak these notes depending on time and mood, and sometimes I pair this wrap with a crunchy recipe from my blog for busy nights.
Variations
- For picky eaters: Omit onion powder and use mild cheddar. Add a thin spread of mayonnaise or cream cheese to encourage kids to eat the wrap.
- Low-carb option: Use low-carb or large lettuce leaves instead of tortillas. Sear briefly in the skillet to warm the filling, then fold.
- Spicy twist: Add 1/2 teaspoon chili powder or a few dashes of hot sauce to the chicken mix. Top with pickled jalapeños for zing.
- Vegetarian swap: Replace chicken with shredded, seasoned cauliflower or a sauté of mushrooms and bell peppers. Keep the garlic and cheese for comfort.
- Meal prep friendly: Make the filling in bulk and refrigerate. Assemble fresh or reheat filling and assemble then sear for dinner.
These small swaps make the recipe flexible and family-friendly. Adjust seasonings to taste and involve kids in choosing a variation for their plate.
FAQ
Q: Can I use raw chicken instead of cooked chicken?
A: Yes. If using raw chicken breast cut into small pieces, cook it in a skillet with the minced garlic and spices until it reaches 165°F internally. Let it cool slightly, shred if needed, then assemble wraps.
Q: What cheese melts best in these wraps?
A: Mozzarella melts smoothly and gives stringy texture. Sharp cheddar offers more flavor. A blend of both gives great melt and taste.
Q: Can I freeze the wraps before cooking?
A: You can freeze assembled wraps, but for best texture, freeze after cooking. If you freeze raw assembled wraps, thaw overnight in the fridge before cooking and crisp in a skillet.
Q: How do I keep the tortillas from falling apart when rolling?
A: Warm the tortillas for a few seconds to make them pliable. Avoid overfilling. Fold in the sides first, then roll tightly to secure the seam.
Q: Is this safe for kids with nut allergies?
A: Yes. This recipe contains no nuts by default. Always check ingredient labels on pre-shredded cheese and store-bought tortillas for cross-contamination warnings if allergies are severe.
Conclusion
I hope these Cheesy Garlic Chicken Wraps bring warmth to your table and make weeknights easier. They are a little bit of comfort and a lot of family-friendly flavor.
If you want another take on this idea, I sometimes compare notes with recipes like Cheesy Garlic Chicken Wraps – Cooked & Loved for inspiration. For a protein-focused option you might enjoy, check out the Cheesy Garlic Chicken Wrap | High Protein – Hummus Fit product page for ideas on packing more protein into a wrap.
Thanks for cooking with me. Come back soon for more simple, family-focused recipes that turn busy evenings into moments everyone remembers.
Cheesy Garlic Chicken Wraps
Ingredients
Method
- In a bowl, mix together the shredded chicken, garlic, garlic powder, onion powder, salt, and pepper.
- If the mixture seems dry, add a teaspoon of olive oil.
- Place a tortilla on a flat surface and add a portion of the chicken mixture to the center, then top with shredded cheese.
- Roll the tortilla tightly, folding in the sides as you go.
- Heat olive oil or butter in a skillet over medium heat.
- Place the wraps seam-side down in the skillet and cook until golden brown, about 3-4 minutes on each side.
- Remove from skillet, slice in half, and garnish with chopped parsley. Serve warm.