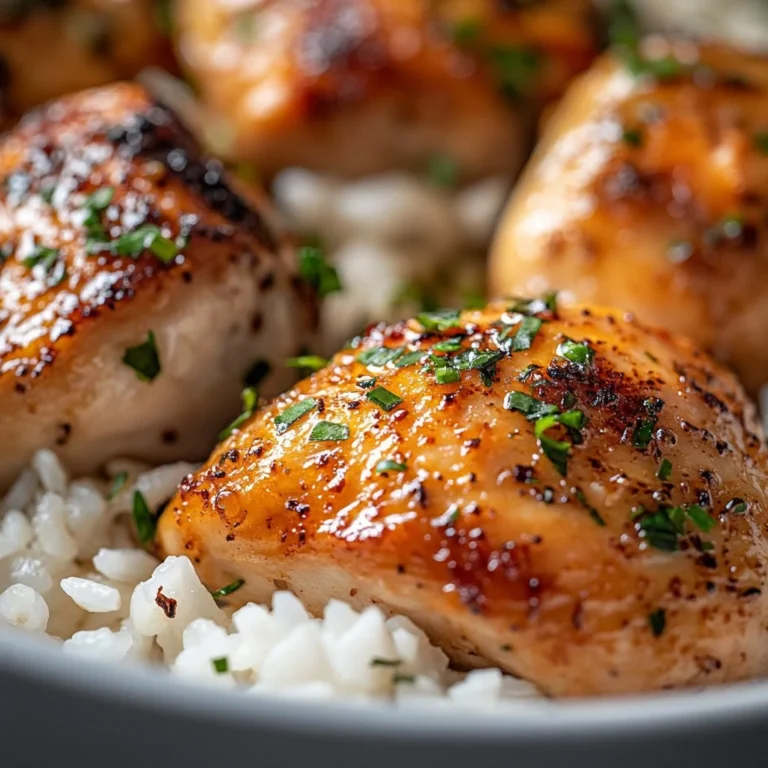
Creamy Oven Baked Chicken Thighs
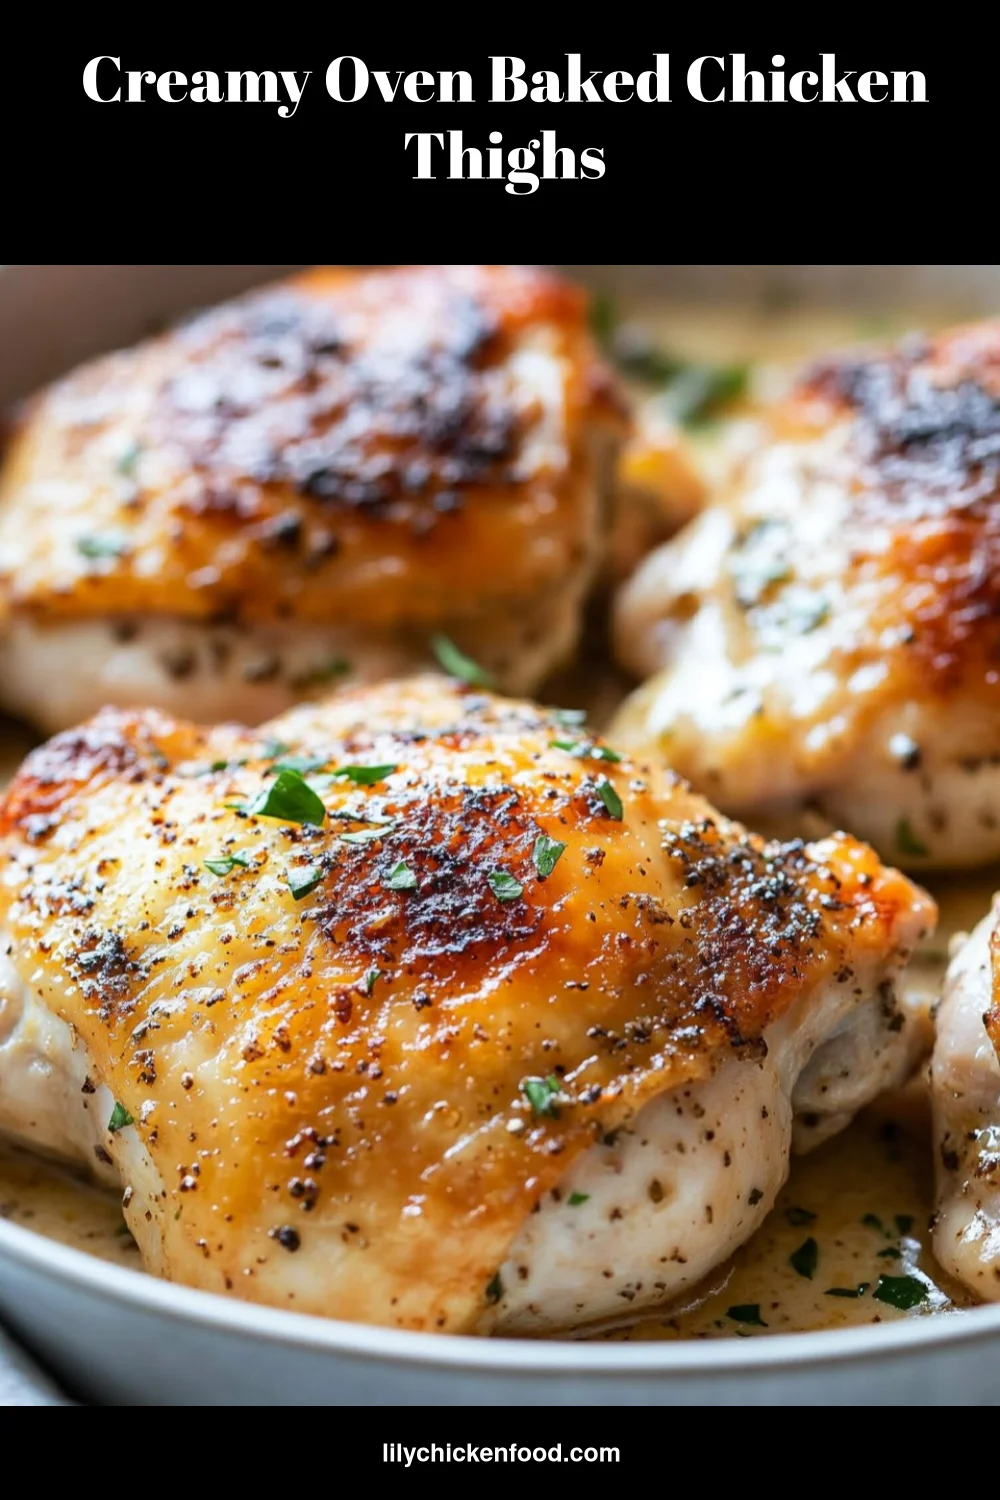
I remember the first time I baked creamy chicken thighs for my family. The kitchen smelled like warm garlic and melting cheese. The oven clock ticked while my kids laughed at the table. When I opened the oven, the sound of the sauce gently bubbling told me we were about to eat something special.
This recipe is cozy, quick, and forgiving. You do not need fancy techniques to make a dish that smells like Sunday dinner and tastes like a hug. I will walk you through every step so you feel confident in the kitchen. Let us get cooking.
Why this works
This dish balances simple technique with rich flavor. Searing the chicken first locks in juices and builds a golden crust. The creamy Parmesan mixture adds a silky sauce that keeps each bite tender and satisfying. It is one of those meals that feels special but comes together fast.
Families will love it because it is both comforting and practical. You can prepare the sauce and sear the chicken while helping kids with homework or folding a load of laundry. It bakes in one pan, so cleanup is minimal. That means more time at the table and less time washing dishes.
I have tested this recipe many times for my own family and for friends. Each time, it came back with smiles and requests for the recipe. If you need a time-saving dinner that still feels homemade, this is a keeper.
Process Overview
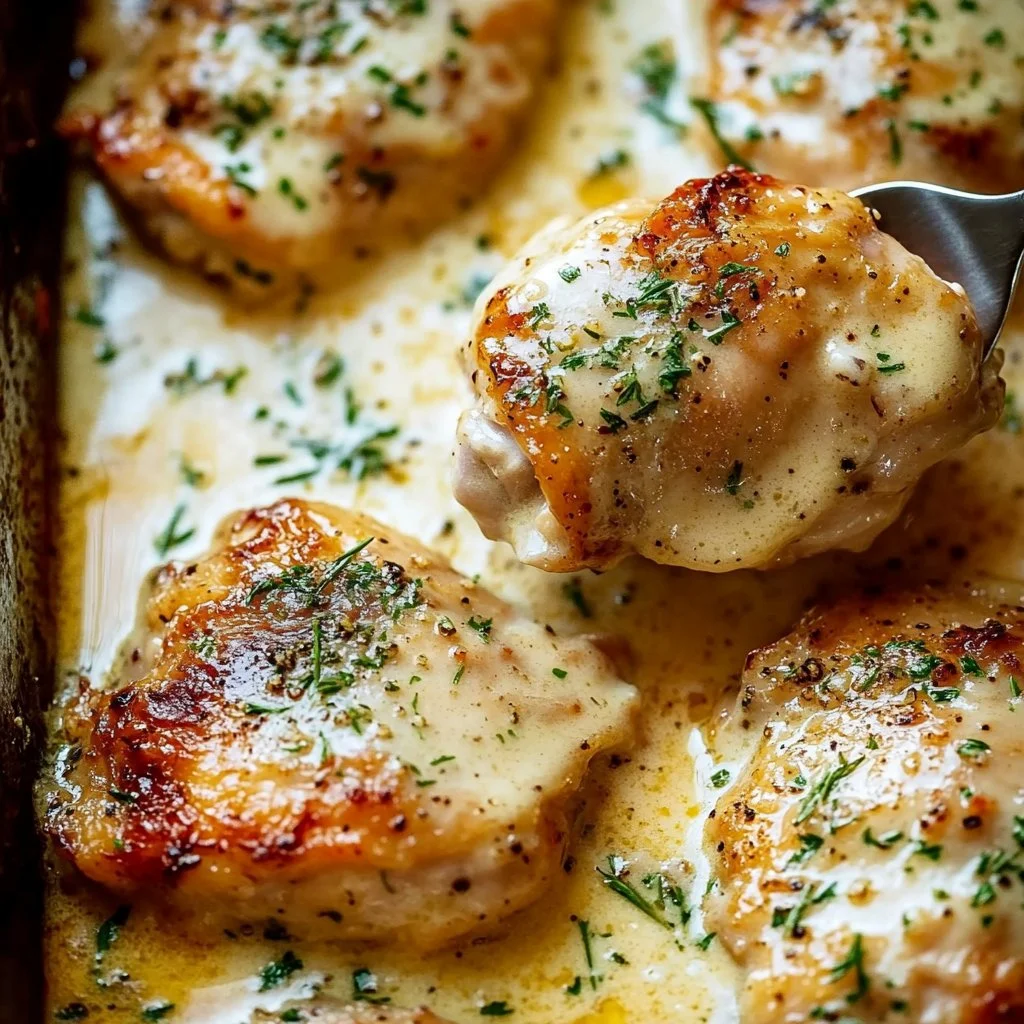
“This is where the magic happens—when the aroma fills the kitchen.”
In short, the process is sear, mix, pour, and bake. Searing adds texture. The cream and Parmesan melt into a sauce that keeps the chicken moist. Baking finishes the cooking gently and evenly.
You can multi-task easily. While the chicken sears, combine the sauce. Once everything goes in the oven, you can chop a simple salad or set the table. This method gives you a great result with little fuss.
Quick science behind the method
Searing uses Maillard browning to add flavor. The cream and cheese provide fat and protein which make the sauce cling to the meat. Baking at 400°F gives a good balance between a golden top and tender interior. The final internal temperature should reach 165°F for safe, juicy chicken.
Ingredients
- Chicken thighs
- Use bone-in, skin-on thighs if you want extra flavor and juiciness. Boneless skinless works too and will cook a bit faster. I usually buy farm-raised thighs when possible.
- Garlic
- Fresh cloves give the best aroma. Mince finely for a smoother sauce. If you are short on time, jarred minced garlic is an acceptable shortcut.
- Parmesan cheese
- Freshly grated Parmesan melts best and gives a clean salty flavor. Pre-grated works, but look for a finely grated variety for better melt.
- Heavy cream
- Heavy cream makes the sauce rich and silky. For a lighter option, you can use half-and-half, but the sauce will be thinner.
- Salt
- I prefer fine sea salt for even seasoning. Taste the sauce before baking and adjust lightly.
- Pepper
- Freshly ground black pepper adds brightness. Add to taste, and a little extra on the finished dish if you like a peppery kick.
- Olive oil
- Use a good quality extra virgin olive oil for searing. It adds flavor and helps the skin crisp.
- Fresh herbs (optional)
- Parsley, thyme, or basil add a fresh finish. I often sprinkle chopped parsley at the end for color.
I include these ingredients because they are pantry-friendly, and most can be swapped if needed. My guiding rule is balance: a good sear, a rich sauce, and a final herb note.
Directions
-
Preheat the oven to 400°F (200°C).
- This heat gives a golden top while keeping the chicken juicy. Go ahead and preheat right away so the oven is ready when you finish searing.
-
In a skillet, heat olive oil over medium-high heat.
- Let the oil shimmer but not smoke. A hot pan helps you get a good sear. You are doing great so far.
-
Season chicken thighs with salt and pepper, then sear them in the skillet until golden brown on both sides, about 4-5 minutes per side.
- Searing develops flavor and texture. Don’t overcrowd the pan. If needed, sear in batches and keep the seared pieces warm while you finish.
-
In a bowl, mix heavy cream, minced garlic, and grated Parmesan cheese.
- Stir until the cheese is evenly distributed. Taste a small spoonful and adjust salt and pepper if necessary. The sauce should be flavorful on its own.
-
Pour the creamy mixture over the seared chicken thighs in the skillet.
- Make sure the thighs sit in the sauce but keep some skin above the liquid if you like a little crisp finish. The aromas will start to bloom right away.
-
Transfer the skillet to the oven and bake for 25-30 minutes or until the chicken is cooked through.
- Use an instant-read thermometer to check for 165°F in the thickest part of a thigh. If the sauce bubbles and the chicken reaches temperature, you are set.
-
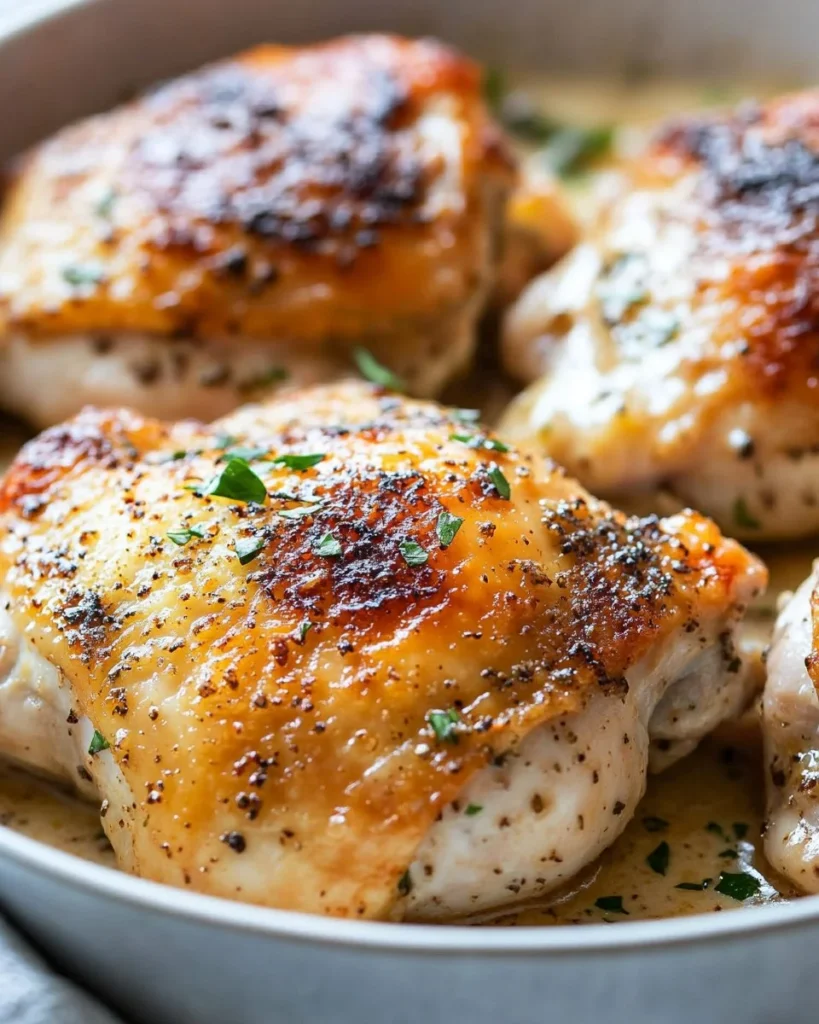
Garnish with fresh herbs if desired and serve hot.
- A sprinkle of parsley or thyme brightens the rich sauce. Let the chicken rest for 3-5 minutes before serving so the juices redistribute.
Each step is forgiving. If you slightly overcook or under-season, a quick squeeze of lemon or a pinch of extra salt at the end can rescue the dish. Cooking is about adjustments, not perfection.
Serving

Serve this dish family-style right from the skillet. Place the hot pan on the table and let everyone help themselves. That warm, communal feel is part of why this recipe works so well for busy weeknights and slower weekend meals.
Suggested sides
- A green salad with vinaigrette to cut the richness.
- Steamed green beans, roasted carrots, or sautéed spinach.
- Mashed potatoes, rice, or crusty bread to soak up the sauce.
For a family dinner, I usually set out a bowl of quick steamed broccoli and some roasted fingerling potatoes. My kids like to dip bread into the sauce, and that makes them happy. Little moments like that are what home cooking is about.
Storage
Refrigerator
- Store leftovers in an airtight container for up to 3-4 days.
- Keep the sauce and chicken together for the best flavor.
Freezer
- You can freeze portions for up to 2 months. Cool the dish completely before transferring to a freezer-safe container.
- Thaw in the refrigerator overnight before reheating.
Reheating
- Oven method: Preheat to 350°F. Cover the chicken with foil and heat for 15-20 minutes, or until warmed through.
- Stovetop: Gently reheat in a skillet over low heat. Add a splash of cream or stock if the sauce looks thick.
- Microwave: Use short intervals and stir the sauce between cycles to distribute heat. This works in a pinch but can change the texture slightly.
Label containers with the date so you always know how fresh leftovers are. Reheat until the internal temperature reaches 165°F for safe eating.
Kitchen Notes
- Use a cast iron skillet if you have one. It goes from stovetop to oven easily and holds heat well.
- If you prefer crispier skin, sear skin-side down a little longer and briefly broil at the end. Watch closely to avoid burning.
- Grate your own Parmesan for the best melting and flavor. Block cheese beats pre-shredded for texture.
- If your skillet is not oven-safe, transfer the chicken and sauce to a baking dish before placing in the oven.
- Want a faster version? Use boneless, skinless thighs and reduce bake time by 5-10 minutes. Check with a thermometer.
These shortcuts keep the meal simple without losing flavor. I lean on them on busy nights when I want a real dinner with minimal stress.
Variations
Picky eaters
- Mild version: Reduce garlic to one clove and omit herbs. Serve with plain mashed potatoes or buttered pasta.
- Crispy version: Keep skin dry, sear well, and finish with a minute or two under the broiler to crisp.
Low-carb or keto
- This dish is already friendly to low-carb and keto diets if you skip starchy sides. Serve with cauliflower mash or roasted Brussels sprouts.
Dairy-free
- Substitute full-fat coconut milk for heavy cream and use a dairy-free Parmesan alternative. Note that flavor will shift but texture stays creamy.
Gluten-free
- Naturally gluten-free if you use gluten-free Parmesan and check labels on any packaged ingredients.
Spicy twist
- Add 1/2 teaspoon red pepper flakes to the sauce or a dash of hot sauce to the finished dish for heat that warms the whole family.
Make-ahead
- Sear chicken and make the sauce up to 24 hours in advance. Keep chilled and bake when you are ready to eat. This saves active cooking time and still delivers fresh flavor.
I encourage you to adapt the recipe to your family’s tastes. I often change small elements depending on what I have in the pantry. The core method stays the same and keeps the results reliable.
FAQ
Q: Can I use chicken breasts instead of thighs?
A: Yes. Chicken breasts will cook faster and can dry out more easily. Use bone-in breasts for juicier results and check for an internal temperature of 165°F. Reduce bake time and monitor closely.
Q: How do I know when the chicken is done?
A: The safest and simplest way is an instant-read thermometer. Insert into the thickest part of the thigh; it should read 165°F. The juices should run clear.
Q: Can I double this recipe for a larger crowd?
A: Absolutely. Use a larger ovenproof dish or two skillets. If you double, you may need to sear in batches to avoid overcrowding the pan.
Q: Is it okay to skip the searing step?
A: Searing adds flavor and color, but you can skip it if you are short on time. The chicken will still cook in the creamy sauce but will lack the browned crust. Increase bake time slightly if you skip searing.
Q: Can I prepare this in advance for a dinner party?
A: Yes. Sear the chicken and prepare the sauce a few hours ahead. Keep both chilled and bake 30-40 minutes before serving. Finish with fresh herbs and a quick broil if you want a golden top.
These questions come up often when I share this recipe with readers. If you have a specific concern, feel free to adjust and test small changes. Cooking should be responsive to your kitchen and schedule.
Conclusion
I hope this creamy oven baked chicken thighs recipe becomes a regular in your rotation. It brings comfort without a lot of hands-on time, and it travels well from weeknight dinner to casual weekend gatherings.
For a version with extra family-friendly notes and step-by-step photos, you might like the detailed guide at Creamy Oven Baked Chicken Thighs – Munchkin Time. If you are looking for another variation with different seasoning ideas, check this helpful take on the dish at Creamy Oven Baked Chicken Thighs | The English Kitchen.
Thank you for letting me share this recipe with you. I love hearing how it turns out in your home. Happy cooking, and enjoy the warm moments at your table.
Creamy Chicken Thighs
Ingredients
Method
- Preheat the oven to 400°F (200°C).
- In a skillet, heat olive oil over medium-high heat.
- Season chicken thighs with salt and pepper, then sear them in the skillet until golden brown on both sides, about 4-5 minutes per side.
- In a bowl, mix heavy cream, minced garlic, and grated Parmesan cheese. Stir until well combined.
- Pour the creamy mixture over the seared chicken thighs in the skillet.
- Transfer the skillet to the oven and bake for 25-30 minutes or until the chicken is cooked through, checking for an internal temperature of 165°F.
- Garnish with fresh herbs if desired and serve hot.