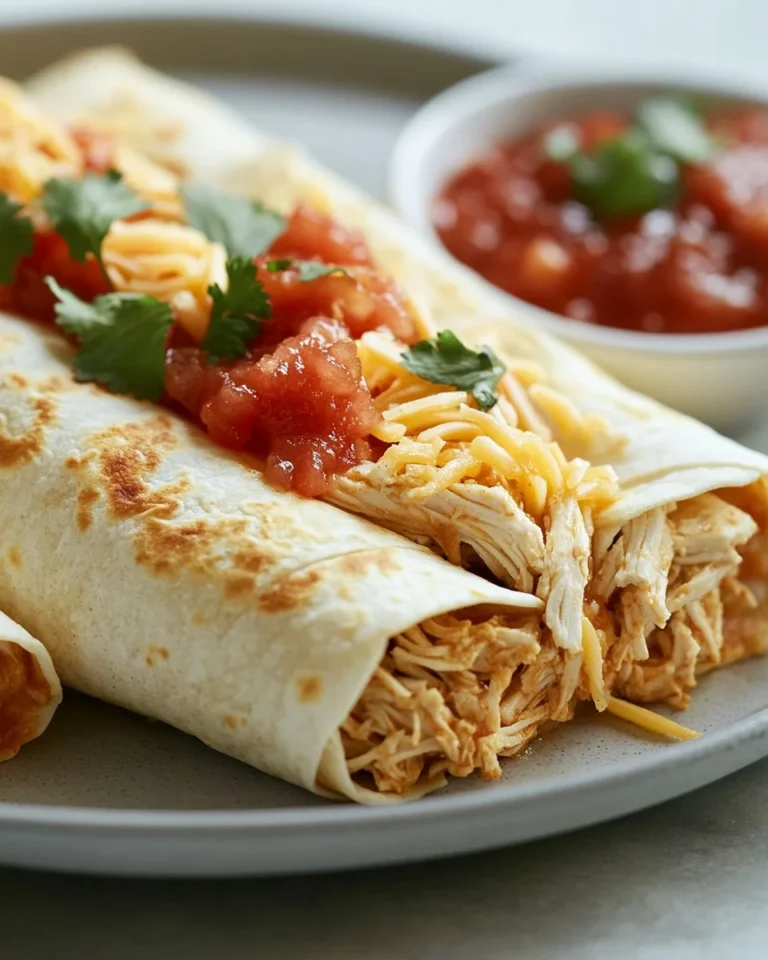
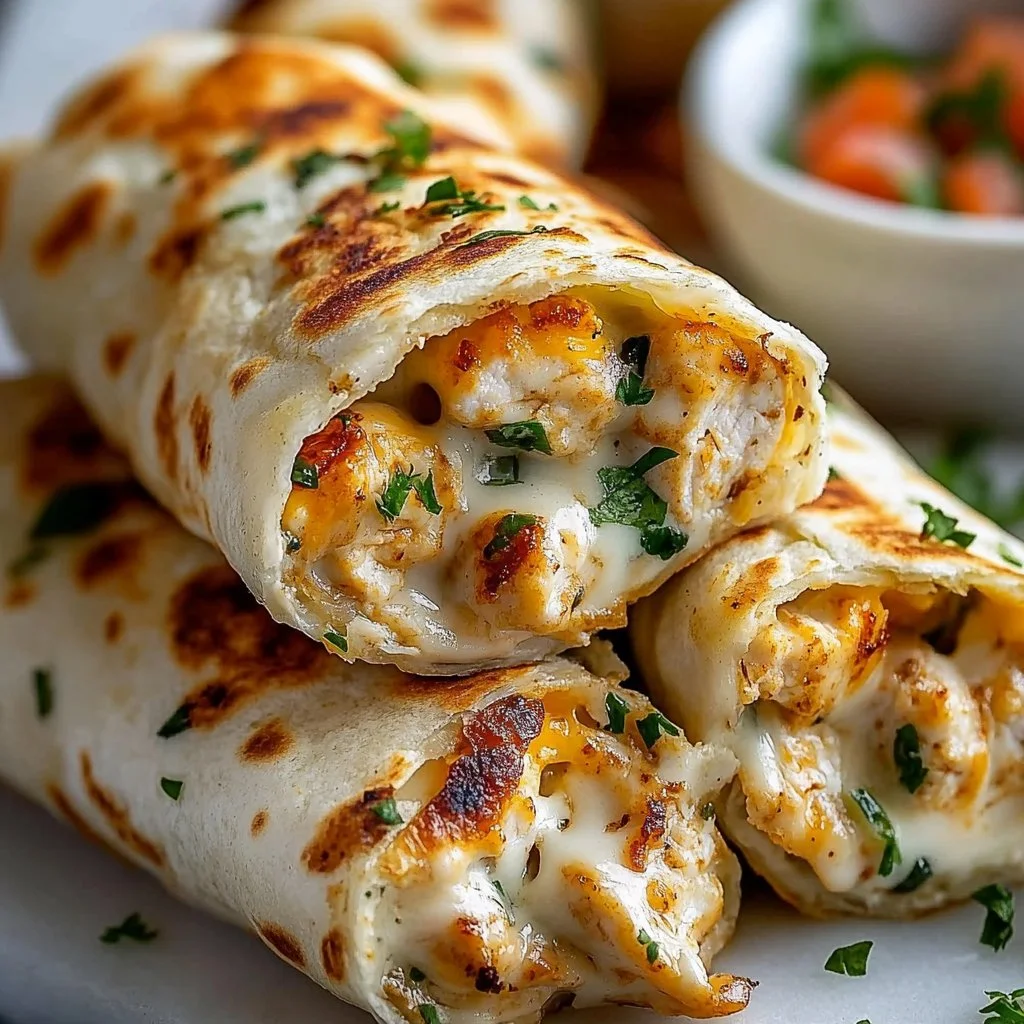
Cheesy Garlic Chicken Wraps
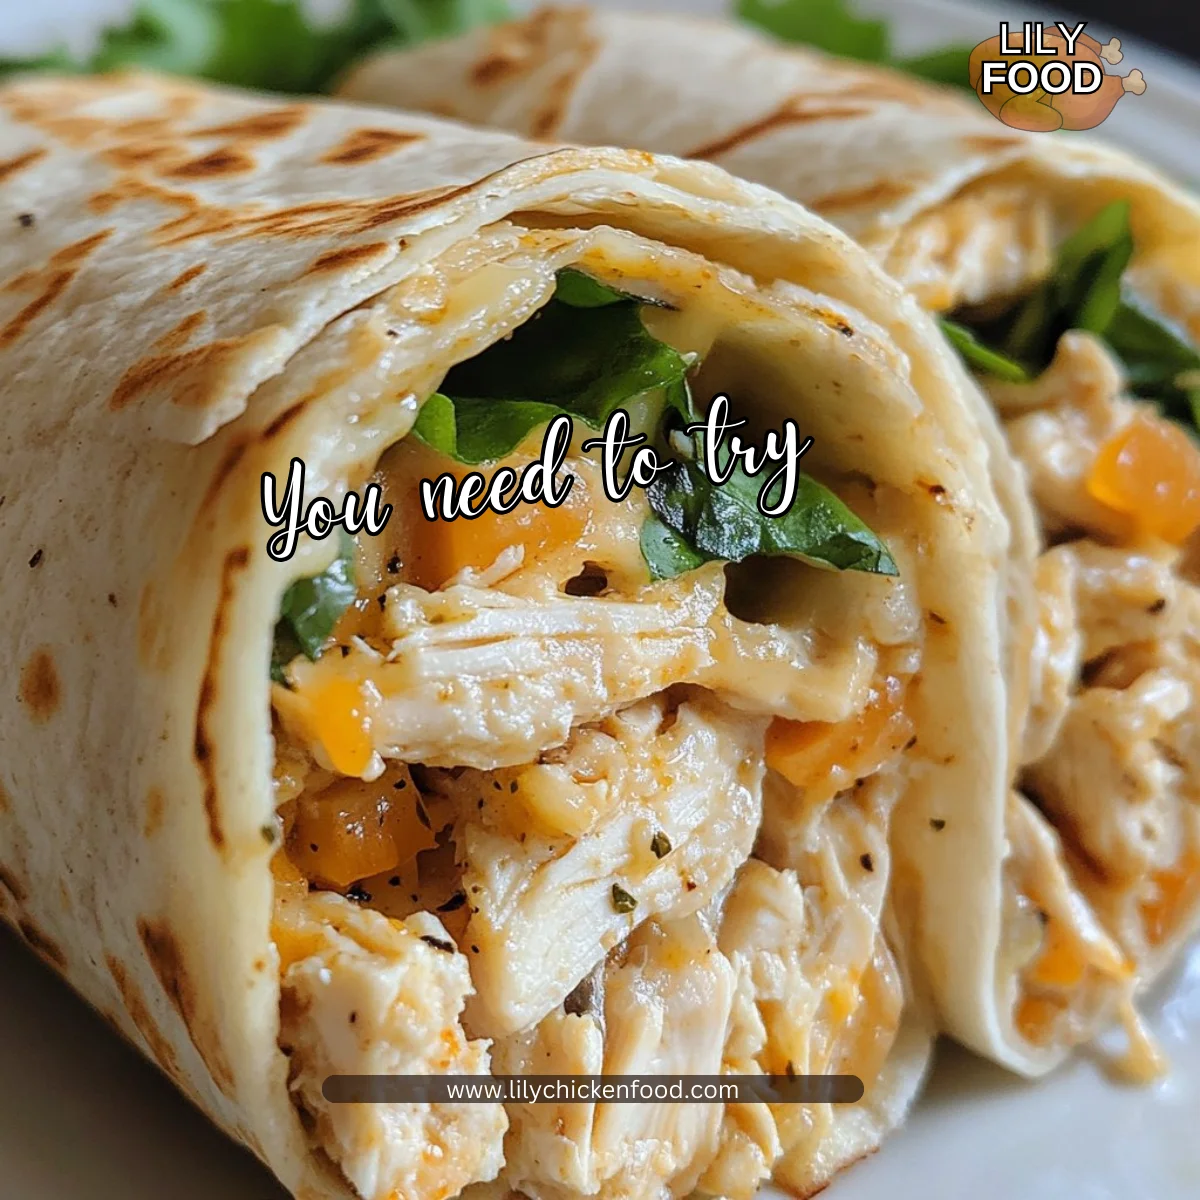
There’s something magical about the smell of garlic bubbling in butter and cheese melding together. As you stand in your kitchen, the sounds of sizzling and the gentle pop of melting cheese fill the air. It’s a symphony that brings family together, and today’s recipe is all about that magic—Cheesy Garlic Chicken Wraps.
These wraps are not just delicious; they’re also quick to make, making them perfect for busy weeknights. Imagine the joy on your family’s faces when they take their first bite. Let’s dive into this easy and mouthwatering dish that can brighten any dinner table.
Why This Works
Family dinners should be simple, beautiful, and filled with flavors. That’s exactly what these Cheesy Garlic Chicken Wraps deliver. They come together without fuss, sparing you hours in the kitchen while still impressing everyone at the dinner table.
You can use leftover chicken, saving time and reducing waste. Each wrap can be customized, ensuring that everyone gets something they love. This dish encourages family time around the dinner table, whether it’s a casual family night or entertaining friends.
Process Overview
“This is where the magic happens—when the aroma fills the kitchen.”
Each step in making these wraps is straightforward. From combining the simple ingredients to cooking them to golden perfection, this recipe is designed to bring ease into your kitchen. You’ll find that it requires very little prep and cooks quickly, leaving you more time to enjoy with your loved ones.
Ingredients
Gather these key ingredients to create your Cheesy Garlic Chicken Wraps:
- 2 cups cooked chicken, shredded
- 1 cup shredded cheese (cheddar or mozzarella)
- 1/4 cup cream cheese
- 2 cloves garlic, minced
- 1 teaspoon garlic powder
- 1 teaspoon onion powder
- Salt and pepper to taste
- 4 low-carb tortillas or wraps
Optional toppings to consider:
- Lettuce: Adds a fresh crunch. I recommend using iceberg for its crispness.
- Tomatoes: Slices of fresh tomato bring juiciness. Choose grape tomatoes for a sweet touch.
- Avocado: Provides creaminess and healthy fats. Slice it just before serving to prevent browning.
- Salsa: A tangy kick that complements the wraps beautifully. Pick your favorite flavor.
- Sour cream: Adds richness and coolness. A dollop on top elevates each bite.
Directions
-
In a mixing bowl, combine the shredded chicken, shredded cheese, cream cheese, minced garlic, garlic powder, onion powder, salt, and pepper. Mix well until everything is evenly coated. This is your cheesy filling that will save dinner.
-
Lay a low-carb tortilla on a flat surface. Place a generous amount of the chicken mixture on the tortilla. Don’t skimp; this is the heart of your wrap.
-
Add any additional toppings like lettuce or tomatoes if desired. Get creative and use what your family loves!
-
Roll the tortilla tightly to form a wrap. Tuck in the sides to keep everything from falling out.
-
Repeat for the remaining tortillas. Each wrap should feel like a little hug of deliciousness.
-
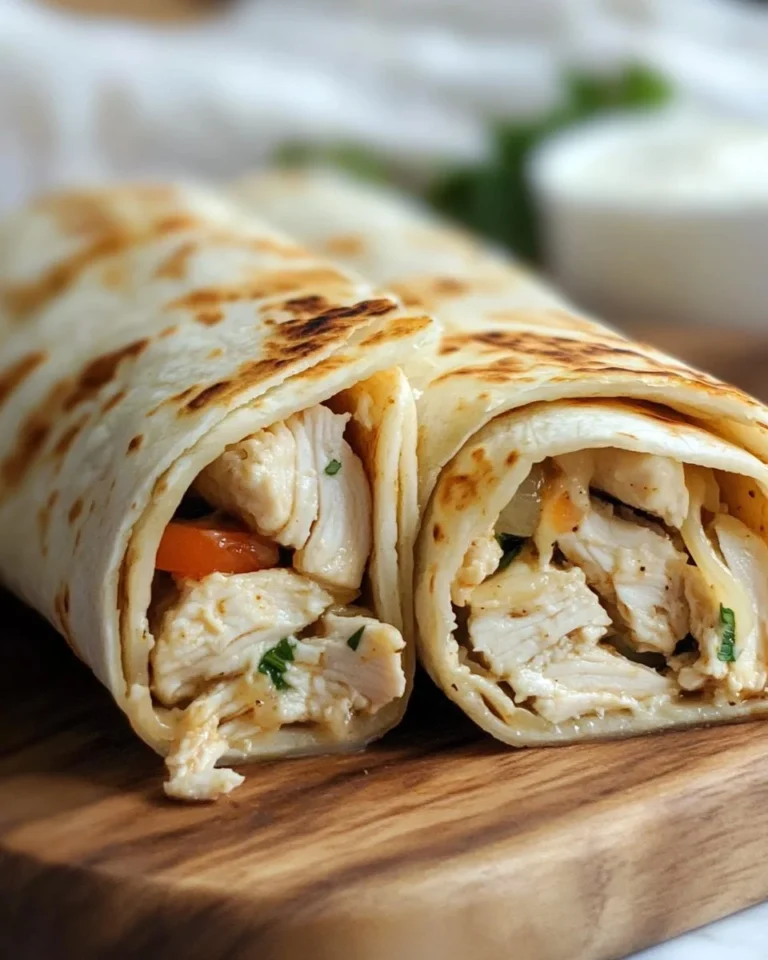
Heat a skillet over medium heat and place the wraps seam side down. Cook for about 3-4 minutes on each side or until golden brown and the cheese has melted. Listen for that satisfying sizzle!
-
Serve warm and enjoy your cheesy garlic chicken wraps! These are sure to become a favorite.
Serving
Serving these wraps family-style creates a warm, inviting atmosphere at the dinner table. Place them on a large platter, and let everyone help themselves. You can offer a bowl of fresh toppings on the side for a personalized touch. This not only encourages sharing but also turns dinnertime into a fun experience for the whole family.
Storage
If you have any leftovers (which might be a rarity), you can store them in an airtight container in the fridge. They’ll last for up to three days.
To reheat, simply place them back in a skillet over medium heat for about 5 minutes on each side until heated through. This will help keep the wrap crispy and delicious. You can also microwave them for quicker reheating, but the skillet method is best for keeping that crispy texture.
Kitchen Notes
Here are some handy shortcuts to make this recipe even easier:
- Pre-Cooked Chicken: Use a rotisserie chicken from the store for an even quicker prep time.
- Frozen Garlic: If you often cook with garlic, consider keeping frozen minced garlic on hand. It saves time and makes for easy cooking.
- Mix Ahead: You can combine the filling ingredients a day in advance and store them in the fridge. Just fill and wrap when you’re ready to cook.
- Meal Prep Idea: Make a double batch and freeze some wraps for a future busy night. Just thaw in the fridge overnight before cooking.
- Kids in the Kitchen: Let your little ones help by rolling their own wraps. It’s a fun activity that encourages them to be involved in meal prep.
Variations
Not everyone in your family may share the same taste, and that’s okay. Here are a few tweaks to cater to picky eaters or different diets:
- Swap the Protein: Use shredded beef or pork if chicken isn’t a favorite.
- Make it Vegetarian: Replace the chicken with roasted vegetables like bell peppers, zucchini, and mushrooms.
- Gluten-Free Option: Use gluten-free tortillas or lettuce wraps instead of regular ones.
- Spice it Up: Add some jalapeños or a sprinkle of chili powder for those who enjoy a little heat.
- Dairy-Free Version: Substitute cream cheese with a dairy-free alternative and use vegan cheese for the filling.
FAQ
1. Can I use uncooked chicken?
Yes, you can. Just cook the chicken fully before shredding and mixing with the other ingredients.
2. How can I make this recipe spicier?
You can add hot sauce to the filling or include sliced jalapeños as toppings before wrapping.
3. Can I bake these wraps instead of frying?
Absolutely! Preheat your oven to 350°F, place the wraps on a baking sheet, and bake for about 10-15 minutes until crispy.
4. What kind of cheese works best?
Cheddar and mozzarella are the most popular choices, but you can also experiment with pepper jack for a spicy kick.
5. How do I make this recipe ahead of time?
You can prepare the filling a day ahead and refrigerate it. Assemble the wraps just before you are ready to cook them for the best flavor and texture.
Conclusion
With Cheesy Garlic Chicken Wraps, you transform simple ingredients into an extraordinary meal. The warmth of melted cheese and the flavor of garlic combined with the vibrant toppings can bring smiles to your family’s faces. Remember, cooking together and sharing delightful meals creates treasured moments. Embrace the joy of family dining and make these wraps a staple in your home. Enjoy cooking, and even more, enjoy gathering around the table.

Cheesy Garlic Chicken Wraps
Ingredients
Method
- In a mixing bowl, combine the shredded chicken, shredded cheese, cream cheese, minced garlic, garlic powder, onion powder, salt, and pepper. Mix well until everything is evenly coated.
- Lay a low-carb tortilla on a flat surface and place a generous amount of the chicken mixture on the tortilla.
- Add any additional toppings like lettuce or tomatoes if desired.
- Roll the tortilla tightly to form a wrap, tucking in the sides to keep everything from falling out.
- Heat a skillet over medium heat and place the wraps seam side down.
- Cook for about 3-4 minutes on each side or until golden brown and the cheese has melted.
- Serve warm on a large platter, allowing everyone to help themselves along with a bowl of fresh toppings.