Mini Chicken Pot Pies
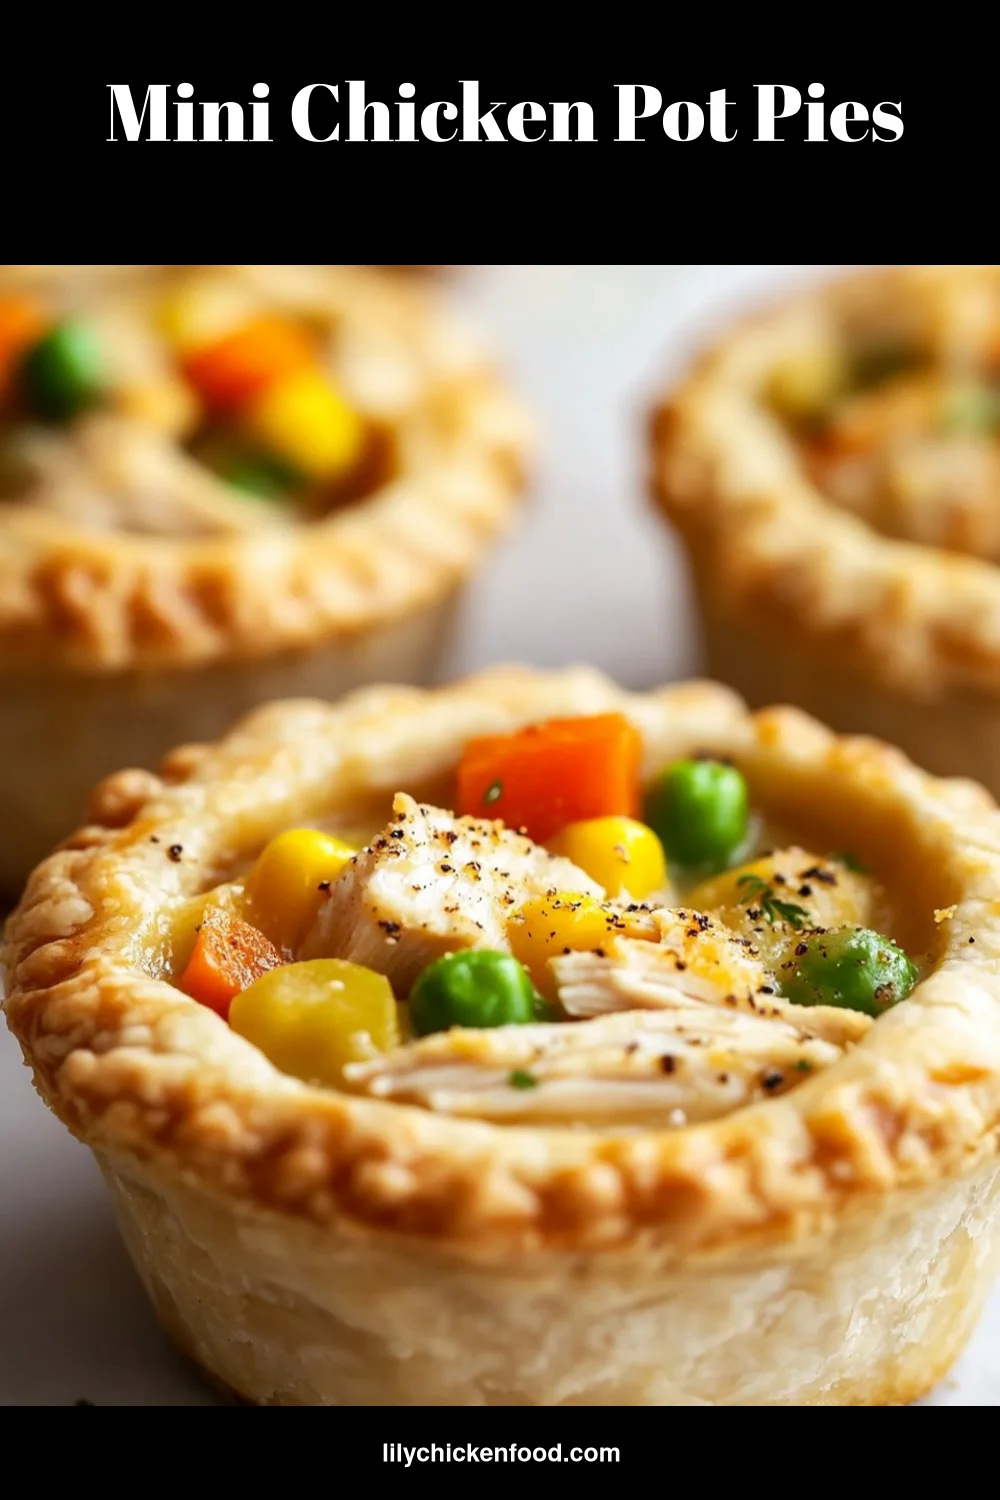
The warm smell of butter and cooked chicken always brings my kitchen to life. I hear little footsteps and soft chatter as the oven hums. A mini pot pie in hand can turn any day into a cozy family moment.
These mini pot pies are a small, comforting feast. They bake fast and feel special for kids and grown-ups alike. If you love easy, family-friendly chicken dishes, you might also enjoy my take on sliders for busy nights that the kids ask for again and again.
Why this works
Mini chicken pot pies work because they simplify comfort food without losing the heart of home cooking. The single-serve size keeps portions tidy and makes them perfect for lunchboxes, weeknight dinners, or potlucks.
They save time. You can use leftover roast or rotisserie chicken and a handful of mixed vegetables. If you want to make them ahead, they freeze beautifully. For more quick meal ideas that free up your weeknight schedule, check out my collection of air-fryer chicken recipes that help speed dinner along.
These mini pies also give kids a hands-on meal they can help assemble. Letting them spoon the filling or press the crust makes dinner feel like a family project. That shared time around the counter is a small but meaningful routine.
Process Overview
“This is where the magic happens—when the aroma fills the kitchen.”
I like to think of the process as a quick assembly line. You mix the filling, press the crust, fill the cups, top, and bake. The whole run flows easily and lets you stay present with family tasks or homework while the oven does its work.
If you want speed without sacrificing comfort, these pot pies are a go-to. They follow simple steps and use pantry-friendly items, and if you need more one-pan weeknight ideas, my quick and easy chicken recipes can give you more inspiration.
Ingredients
- 1 cup cooked chicken, shredded
- Lily’s tip: Use rotisserie chicken for fast prep and big flavor. Shred it finely so each bite has a balance of chicken and sauce.
- 1 cup mixed vegetables (peas, carrots, corn)
- Lily’s tip: Frozen mixed vegetables work great. Thaw slightly and pat dry to avoid watery filling.
- 1/2 cup cream of chicken soup
- Lily’s tip: Choose a lower-sodium option if you want better control of salt. You can thin with a splash of milk if your filling is very thick.
- 1 teaspoon garlic powder
- Lily’s tip: Garlic powder blends evenly and keeps a mild garlic flavor kids usually like.
- 1 teaspoon onion powder
- Lily’s tip: Onion powder adds savory depth without the onion texture that picky eaters avoid.
- Salt and pepper to taste
- Lily’s tip: Start with a little and taste the filling. Remember the crust adds a bit of salt too.
- 1 package refrigerated pie crusts
- Lily’s tip: Refrigerated crusts are convenient and flaky. Roll gently and keep them cool while you work to avoid tearing.
- 1 egg, beaten (for egg wash)
- Lily’s tip: Brush lightly for a golden top. If you want a softer top, use milk instead of egg.
If you like a little crisp texture from the crust, try baking one extra for a minute or two to test the oven, then proceed with the rest.
Directions
- Preheat oven to 375°F (190°C).
- I like to warm the oven early so the crusts bake evenly. It takes the guesswork out of timing.
- In a large bowl, combine the shredded chicken, mixed vegetables, cream of chicken soup, garlic powder, onion powder, salt, and pepper.
- Mix gently and taste. Adjust the seasonings with a small spoonful of extra soup or a pinch of salt if it feels dry.
- Roll out the pie crusts and cut them into small circles to fit into a mini muffin tin.
- Use a small glass or cookie cutter for even rounds. Keep scraps for topping.
- Press the crusts into the muffin tin cups.
- Press firmly at the base and up the sides to create a little pocket. A quick spray of nonstick oil helps release the pies later.
- Fill each crust with the chicken mixture.
- Spoon so each cup is about three-quarters full. This keeps the top from overflowing and gives a perfect filling-to-crust ratio.
- Cut small circles from the remaining pie crust to top each pot pie.
- A few shapes make them fun for kids. A small fork slice or vent hole helps steam escape.
- Brush the tops with the beaten egg.
- This step gives a golden, glossy finish. If children are helping, let them brush gently.
- Bake for 25-30 minutes or until golden brown.
- The smell of butter and baked crust will tell you they are nearly ready. Rotate the tin halfway through if your oven runs hot on one side.
- Allow to cool slightly before serving. Enjoy!
- Let them rest 5 minutes so the filling sets. These are best warm and shared with family smiles.
If you need a quick protein swap, shredded rotisserie chicken is a smart shortcut and keeps the flavor bright and satisfying. For another crispy favorite that kids love, try my recipe for air-fryer chicken mozzarella wraps for a fun side or snack.
Serving
Serve these mini pot pies family-style on a big platter. Arrange them in neat rows so each person can take two or three. Offer small bowls of dipping sauces like a mild ranch or a simple gravy for dipping.
A green salad or steamed broccoli pairs well to balance the buttery crust. For a cozy touch, set out warm placemats, napkins, and a pitcher of water or iced tea. Plate in the kitchen and carry them out while they are still warm for the best family reactions.
If you want to turn them into a party appetizer, place toothpicks in each and serve on a tiered tray. They hold up well on a buffet table and are easy for little hands.
Storage
Refrigerator
- Cool completely before covering. Store in an airtight container for up to 3 days.
- To reheat, place on a baking sheet and warm at 350°F for 8-10 minutes, or until heated through.
Freezer
- Flash-freeze on a baking sheet for 1 hour, then transfer to a freezer bag for up to 2 months.
- Reheat frozen: bake at 375°F for 20-25 minutes, covered with foil for the first 15 minutes, then uncovered until golden.
Microwave
- For a quick reheat, microwave on medium for 45-60 seconds. The crust will be softer than oven-reheated, but the filling heats fast.
Label containers with the date to keep track of freshness. If you prepare a double batch, freeze half for a nights when you need a warm, ready meal.
Kitchen Notes
- Shortcut: Use shredded rotisserie chicken to skip roasting.
- Shortcut: Frozen mixed vegetables save time. Thaw and drain to prevent soggy filling.
- Shortcut: Use a standard muffin tin if you do not have a mini tin. Adjust baking time to 30-35 minutes.
- Shortcut: Make filling a day ahead and assemble just before baking for fresher crust.
- Shortcut: Double the recipe and freeze extras for effortless future dinners.
These small switches keep the recipe flexible for busy families while preserving the homemade feel.
Variations
- For picky eaters: Leave out peas and substitute with extra corn or diced potatoes. Keep seasonings mild and serve with a favorite dip.
- Vegetarian: Replace chicken with cubed tofu or a canned chickpea mash and use cream of mushroom or a thick vegetable béchamel.
- Gluten-free: Use store-bought gluten-free pie crusts or make a simple biscuit topping with gluten-free flour.
- Low-carb: Swap the crust for a mashed cauliflower topping and bake in small ramekins for a pot pie bowl.
- Comfort upgrade: Stir a tablespoon of sour cream into the filling for creamier texture and tang.
Each variation keeps the same core process and family appeal while fitting different dietary needs.
FAQ
Q: Can I make these ahead and bake later?
A: Yes. Assemble into the muffin tin, cover tightly with plastic wrap, and refrigerate up to 24 hours. Add a couple of extra minutes to the baking time if chilled.
Q: Can I use fresh vegetables instead of frozen?
A: Absolutely. Cook them until just tender, then cool slightly before mixing to avoid adding too much moisture.
Q: How can I tell when the filling is hot enough?
A: The crust should be golden brown and the filling should bubble slightly through the vents. A quick thermometer check should read 165°F in the center.
Q: Can I freeze the unbaked pies?
A: Yes. Place the assembled pies on a baking sheet and freeze until solid, then transfer to a freezer-safe container. Bake from frozen, adding a few extra minutes to the time.
Q: What if I only have regular pie crusts, not mini?
A: Regular crusts work fine. Cut larger rounds and bake in a standard muffin tin or small ramekins. Expect a slightly longer bake time.
Conclusion
I hope these mini chicken pot pies bring a little extra warmth to your table. They are simple, reliable, and full of the cozy flavors that make family dinners memorable.
If you want another easy mini pot pie take on this classic, this Easy Mini Chicken Pot Pies Recipe – One Little Project has nice variations. For more comforting pot pie ideas and inspiration, this version from Mini Chicken Pot Pies – Hungry Enough To Eat Six is worth a look.
Thank you for cooking with me. Come back soon for more family-friendly recipes and tips.

Mini Chicken Pot Pies
Ingredients
Method
- Preheat oven to 375°F (190°C).
- In a large bowl, combine the shredded chicken, mixed vegetables, cream of chicken soup, garlic powder, onion powder, salt, and pepper.
- Mix gently and taste. Adjust the seasonings if necessary.
- Roll out the pie crusts and cut them into small circles to fit into a mini muffin tin.
- Press the crusts into the muffin tin cups to create pockets.
- Fill each crust with the chicken mixture, about three-quarters full.
- Cut small circles from the remaining pie crust to top each pot pie.
- Brush the tops with the beaten egg.
- Bake for 25-30 minutes or until golden brown.
- Allow to cool slightly before serving.